

Remember: Click on any photo to make it full size

I’ve had a concept in my mind for quite some time as to what I’d like to create in the form of a surfboard rack for the back of the Lexington. After scouring the World Wide Web for racks and products, it soon became apparent that there is very little out there in the line of stand up racks for the back of RVs. There is a place in New York that makes kayak racks that are very expensive and not quite what I wanted for my needs. I came across several older posts and photos of people’s home made jobs and some commercial ones that are no longer in business. I called one guy in San Clemente who had built a few units years back and he said he no longer made them for liability reasons. That seemed to be a common theme; no one wants to be responsible for dumping a load of fiberglass on the interstate.
I printed out photos of some home made fabrications others had pieced together and modified their ideas to fit what I thought would work best for us. 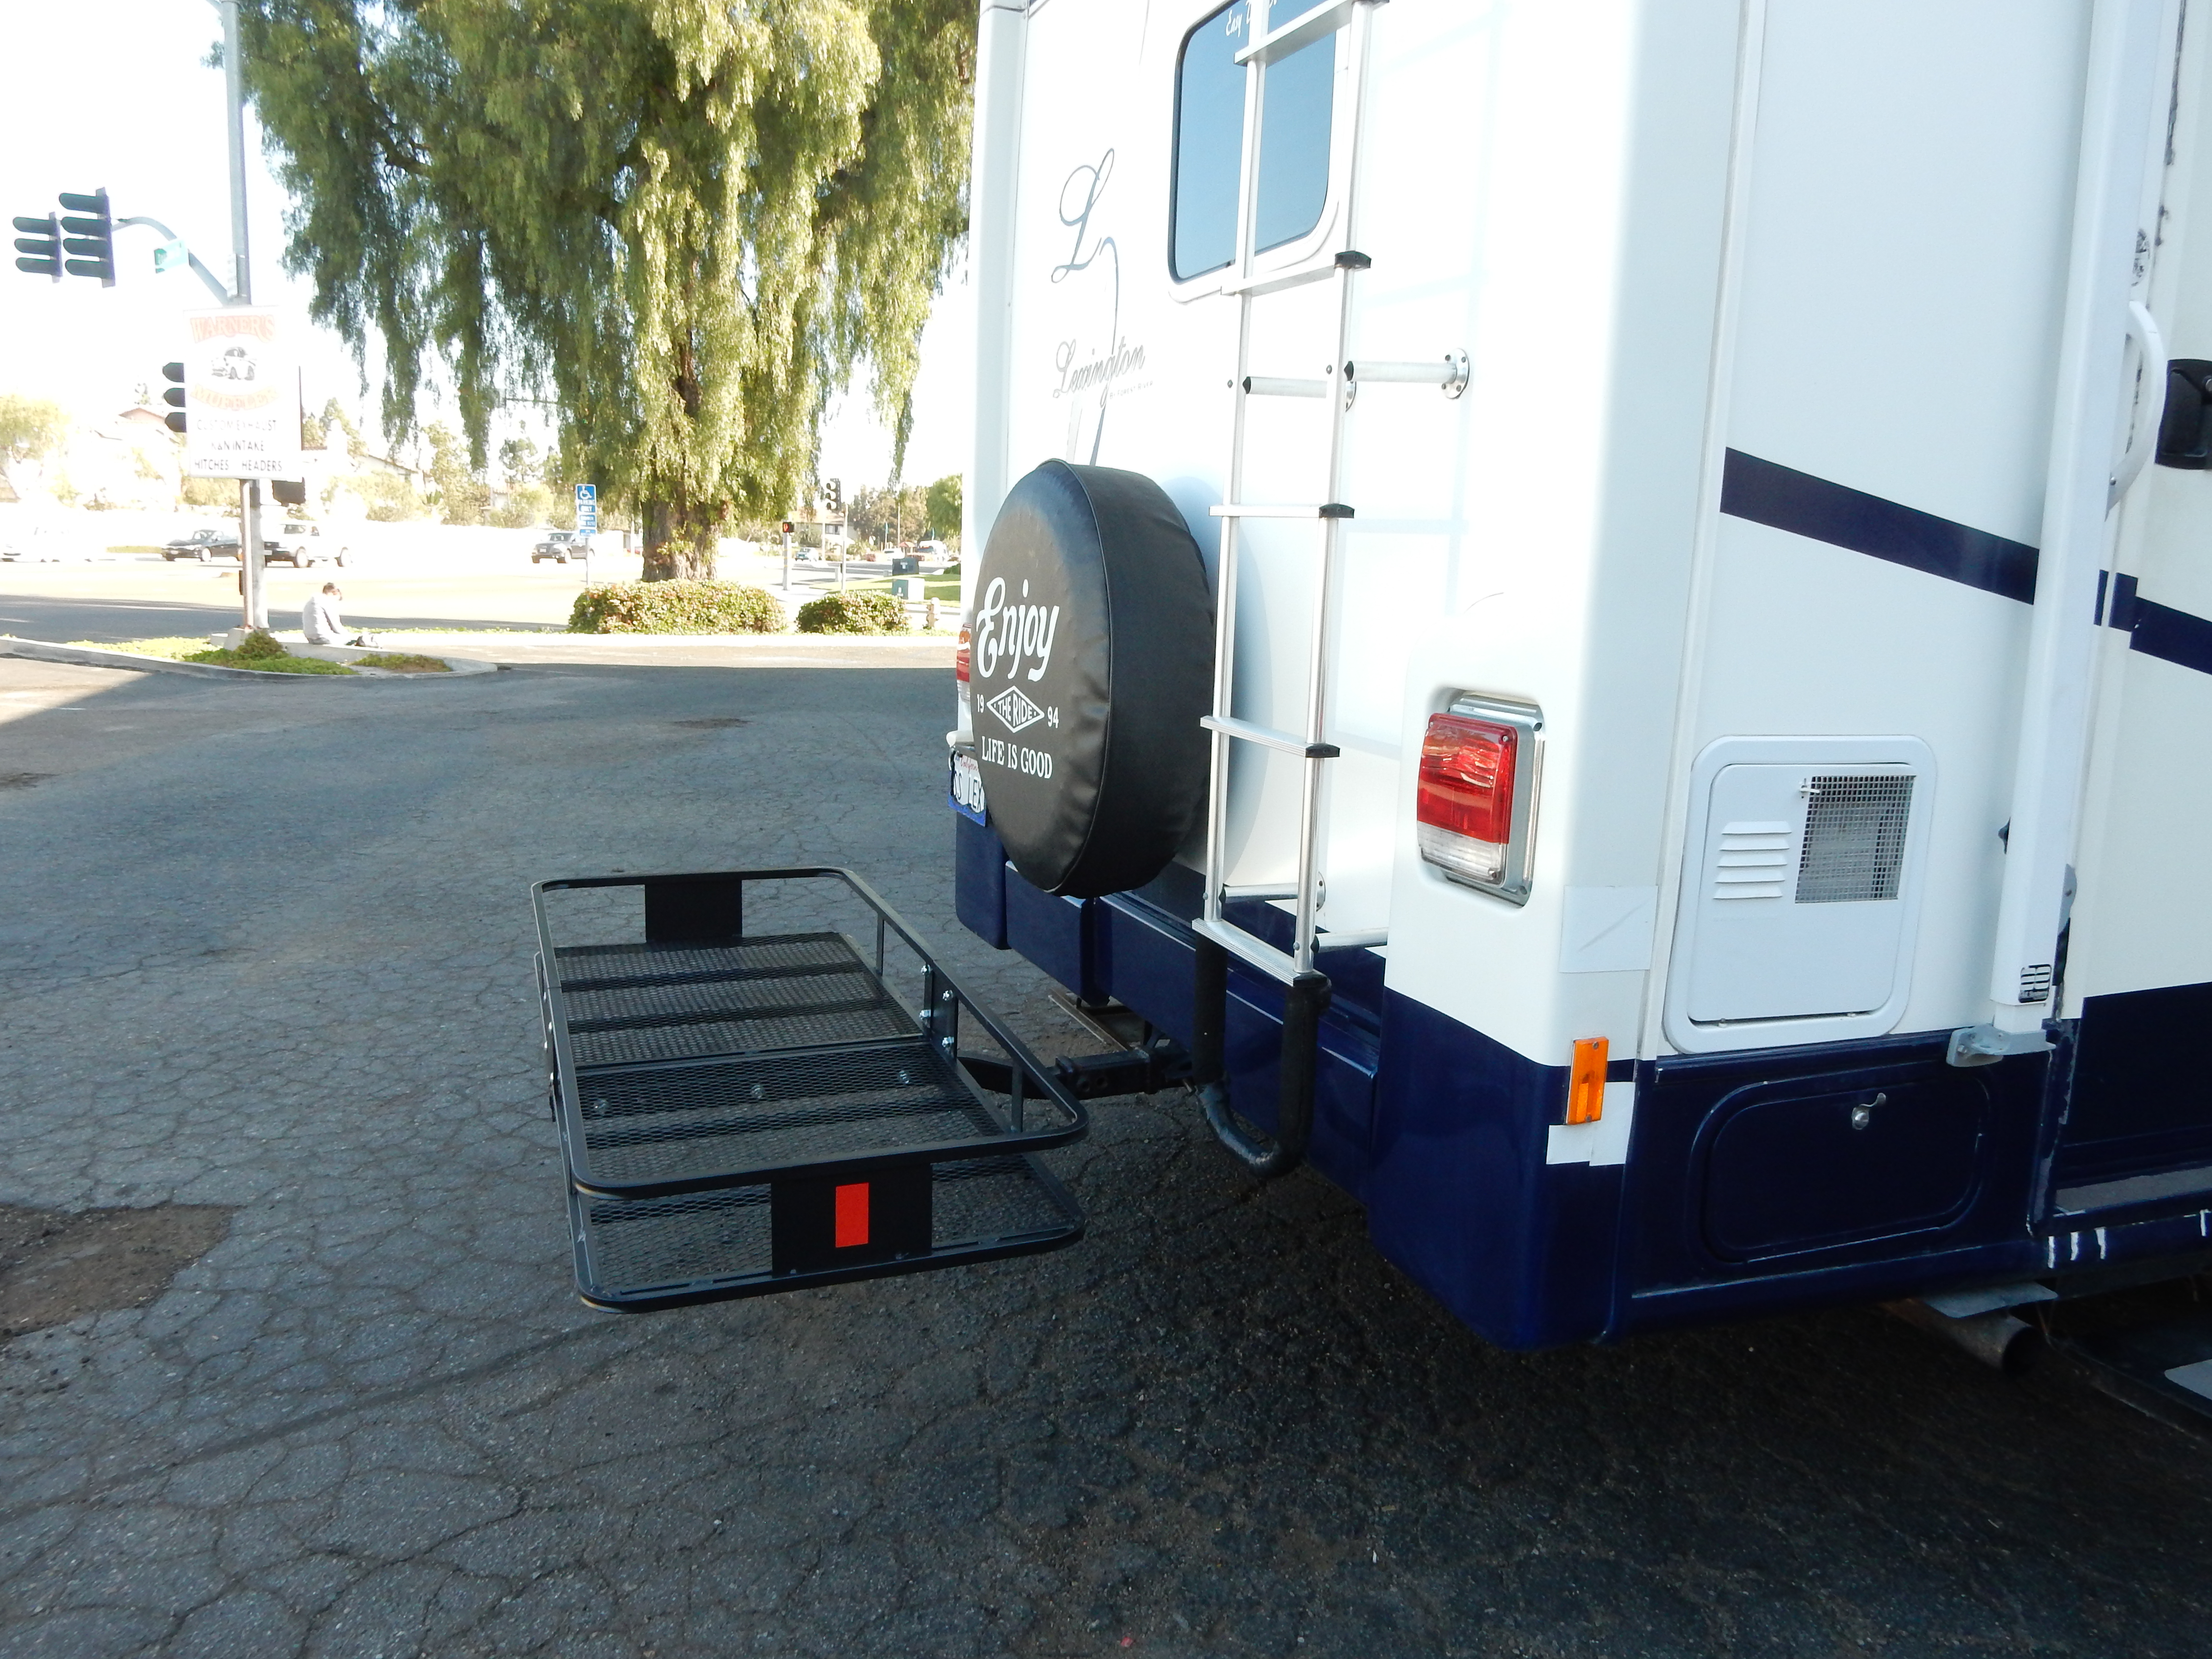
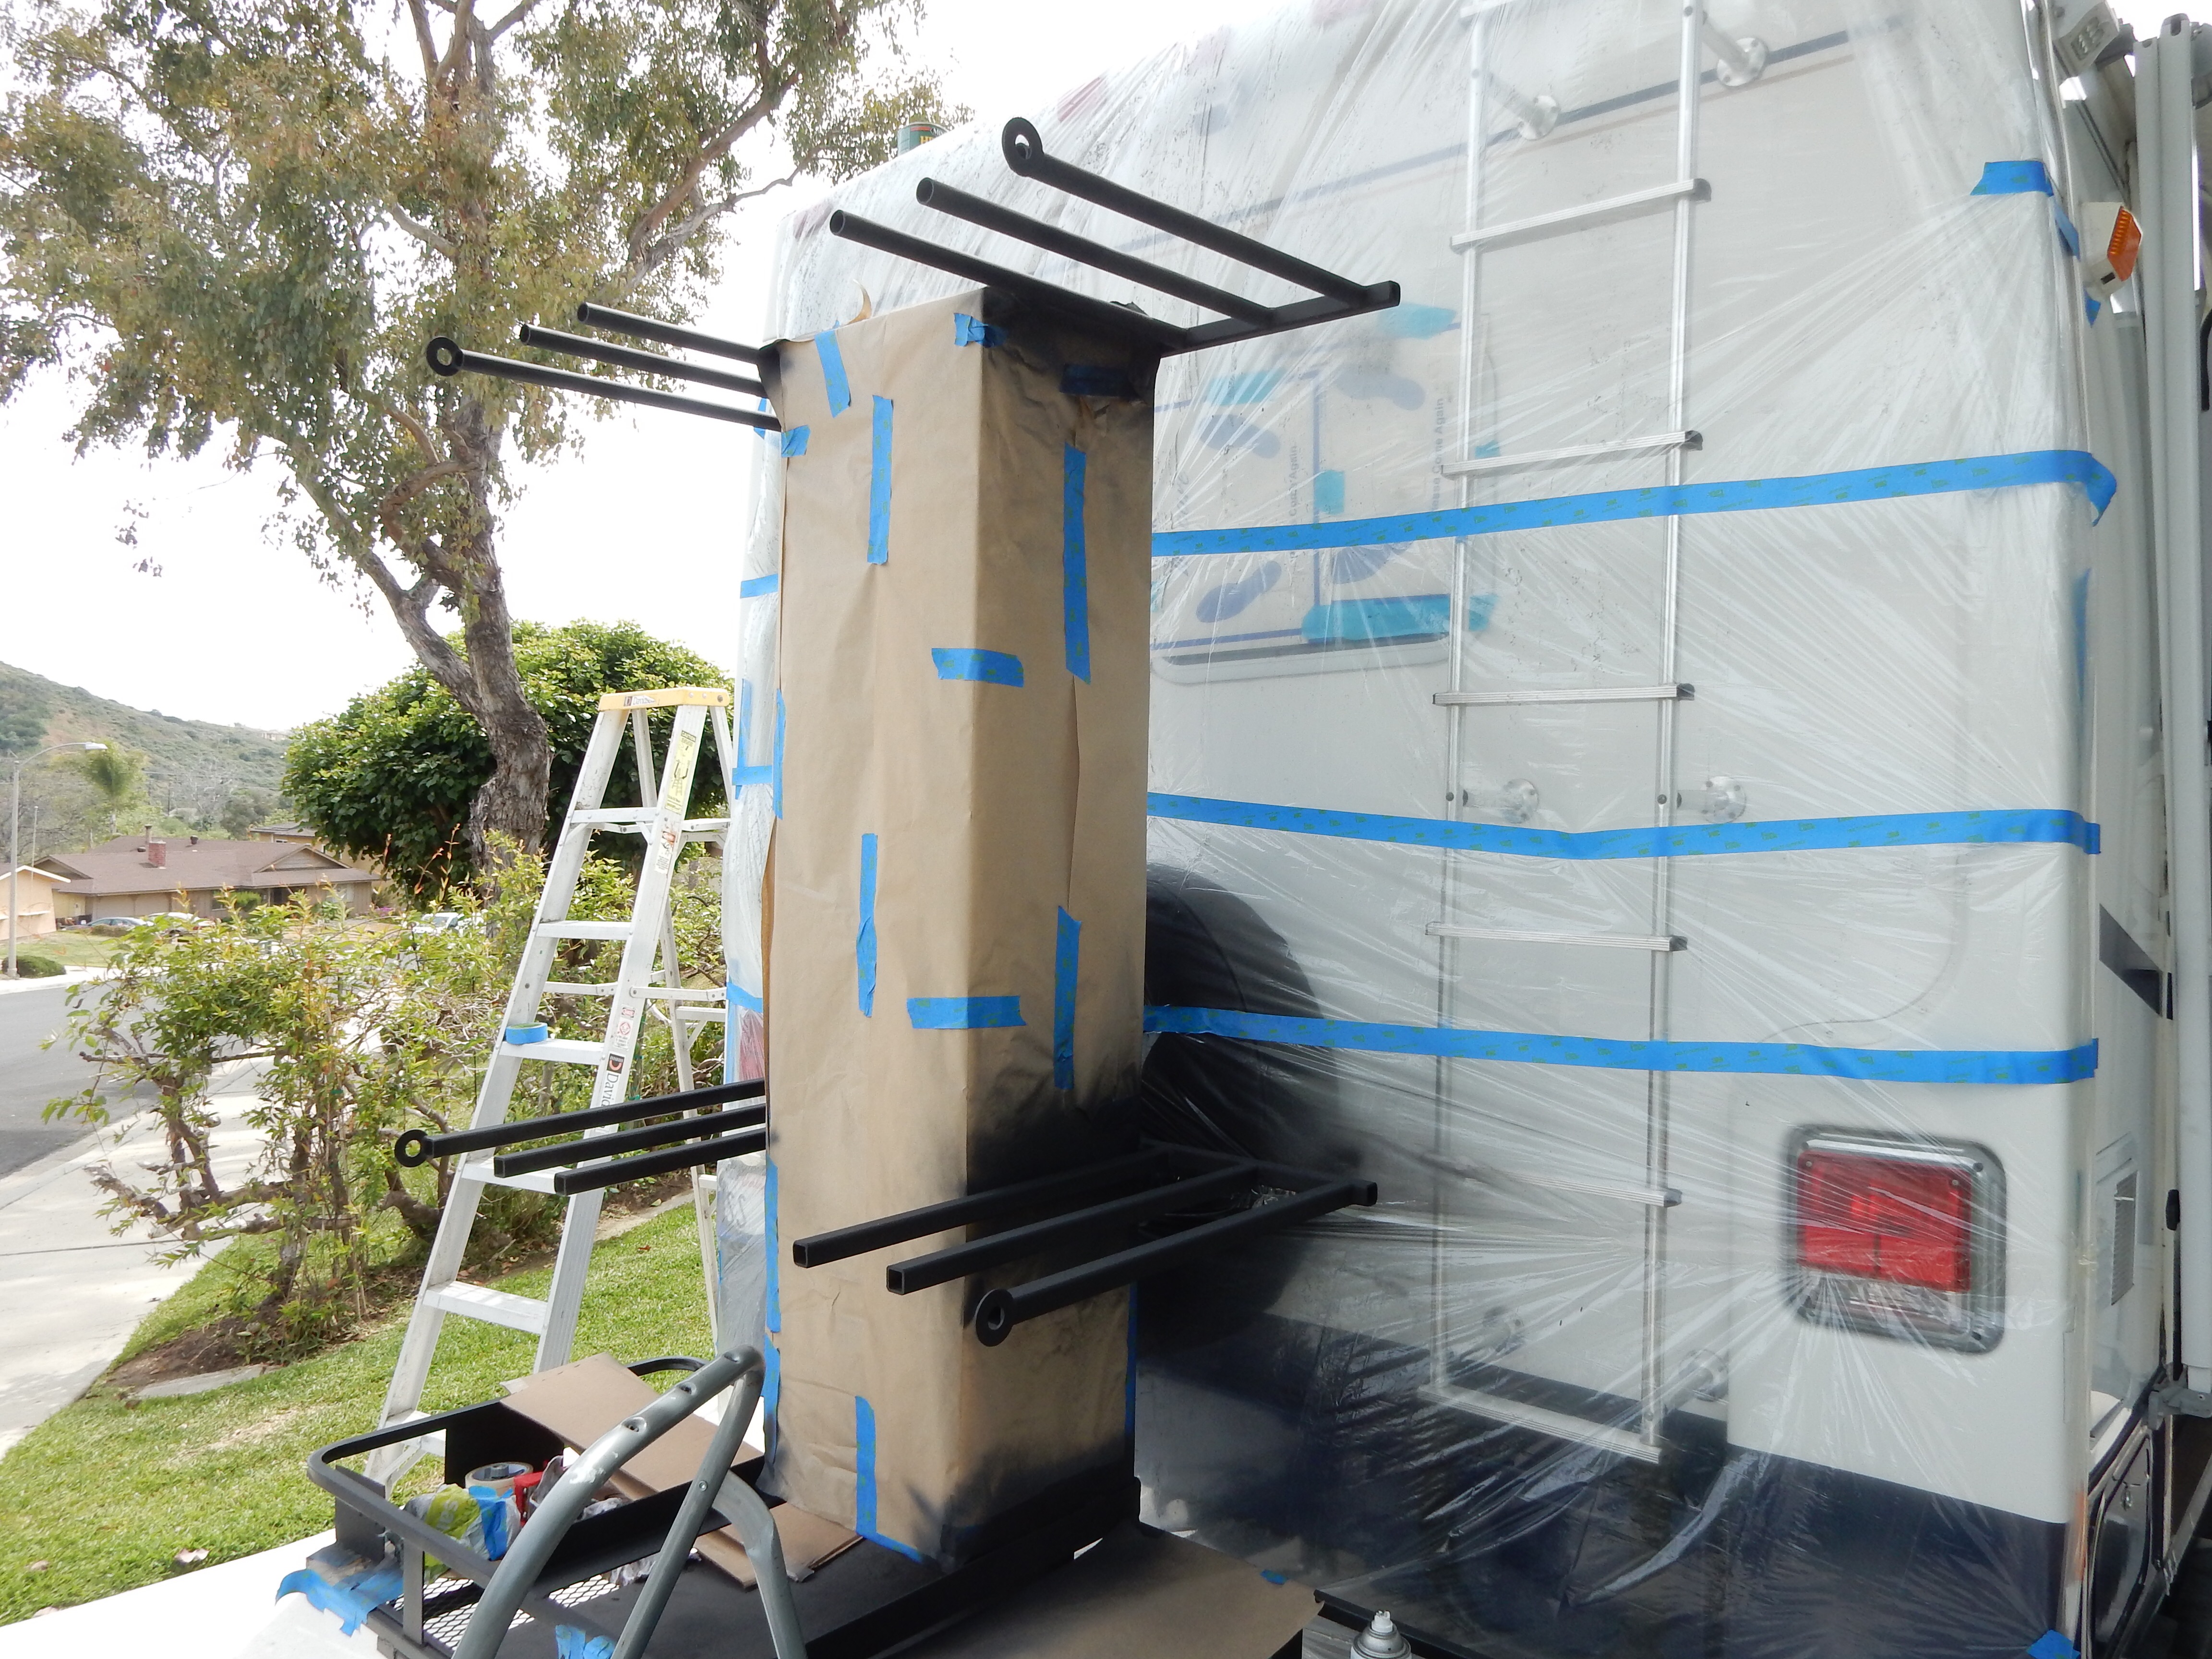
I took them to Jim at Warner’s Muffler in Oceanside. I had my little hand drawn blueprints of what I hoped to create and they agreed to do the work. Eric got on it right away and started cutting and welding the components to fabricate the rack. We started with a four foot pre-fab hitch basket and built the rest of the structure from there. I had purchased a truck bed tool box at Lowes that we turned vertically to create a locker for ding repair stuff and other gear. Eric welded horizontal bars to hold the boards upright and added rings on the end that a bar could thread through and allow the boards to be locked into place. 
I rode around Oceanside on my bike killing time while he worked. I started out at the little Mexican bakery near the shop drinking a Oaxacan chocolate and pan de yema. They were lacking wi-fi, so I rode around until I came across a Starbucks and hung out there for a while doing a crossword and checking out other blogs on the internet. Cruised back over to the welder’s and tried fitting a board in the slots. It was a little tight, so we agreed to change it and give the spaces for boards a few more centimeters. Eric was cool about it even though he was following the measurements on my “plans”. After cutting off a few of the horizontal members and replacing them at a wider interval, we were back in business.
For extra safety and to avoid any hassles with transit cops, I wanted to place tail lights on the rack. It was near closing time as Eric was finishing up with their installation and getting them wired up to the hitch connector. 
He didn’t have a license plate light, so I hopped on the bike and raced over to the nearby Auto Zone and bought a little light to put on. I wanted a place to hang license plates for each country we cross into on the back of the rig, so we fashioned this on the rear.
I also had the boys extend the bike rack a little bit so that it would clear the winch on the front and I could mount the bikes at the front of the RV. Man, it feels like they are hanging out there a mile.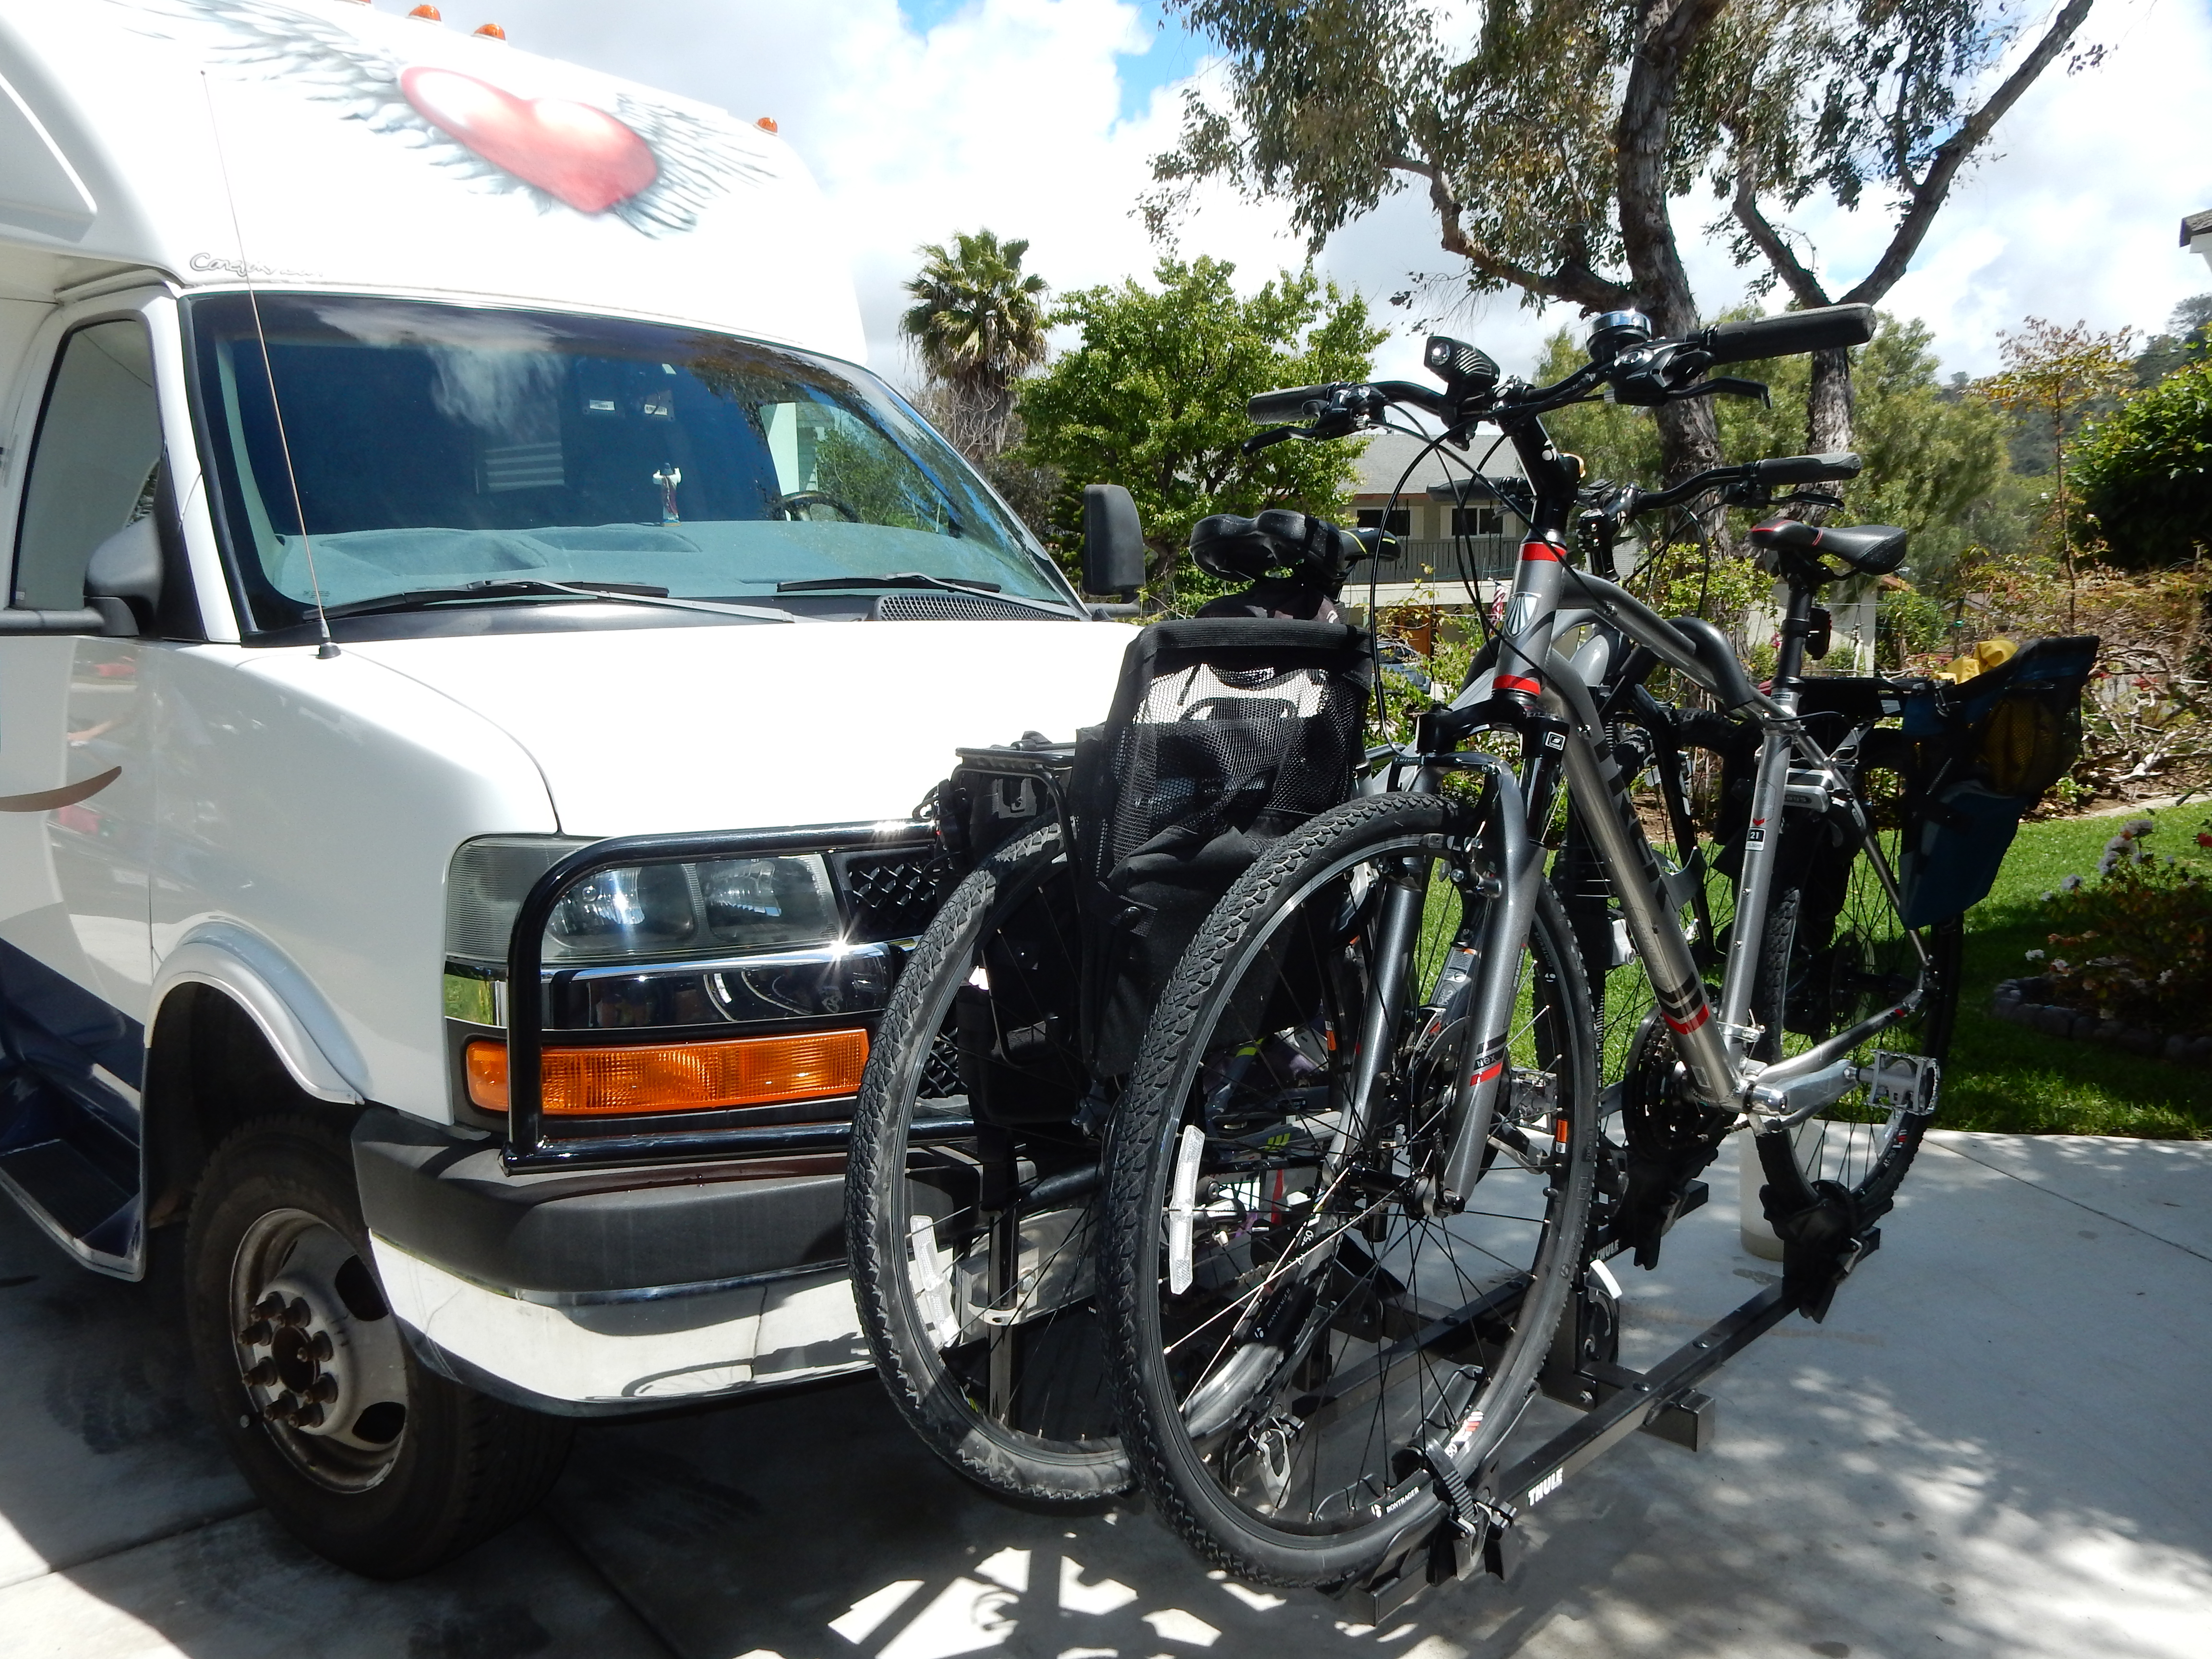 As they were locking up, I drove off with empty pockets, but with a totally functional and pretty slick set up for hauling boards and gear on the road. The motor home feels pretty stretched out with the big platform in the back and the bike bobbing precariously out in front of me as I make my way down the street.
 I broke out laughing as I watched the rack bouncing in the rear camera and the bike wobbling around on the front. The racks got a good test going through the construction zone on El Camino Real. I didn’t hold back figuring if these are going to be hauling stuff over pot holed Mexican roads, I might as well see if they are going to hold up here over the next month before having any problems on the road.
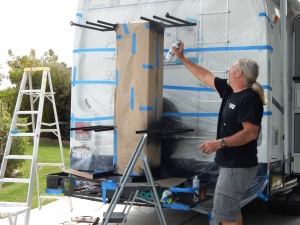
Tuesday, I was tasked with the project of painting the rack. I got it all masked up and busted out the spray cans. I wiped everything down with acetone and brushed it with steel wool. I had two cans of automotive primer and got two coats on the rack with those. Afterwards, I sprayed two coats of Rust-o-leum black with a hammered finish that I hoped would kind of match the powder coat on the tool box.
 The texture came out o.k., but the black wasn’t all that black, more of a dark grey. So, I finished the job off with a final coat of gloss black enamel and left the whole thing to dry.
Later, I tapped in the plastic end caps on the open ends of the bars and cut and put in place the lengths of plumbing insulation that will serve as cushioning for the boards. Overall, I’m pretty stoked with this thing.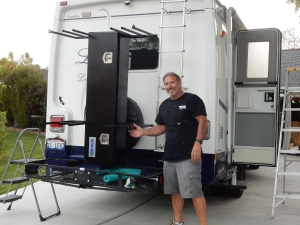 Ordered some master combination locks and will have to find just the right bungees that are the proper tension and that have plastic hooks so as not to scratch up my fine looking paint job. Guess I’d better take it surfing and see how it goes.
I’m out!


Hi Mike:
Looks good!! Bike carriers, surf board carriers, looks like your ready for any mode of transportation.
Pete
LikeLike
Hello
You selling this? LOL
I need one for paddle boards
Do you still have the
Blueprints? If so I would live to see if I can get from you
LikeLike
Hi Mike and PJ,
Looks like your set for your living the dream adventure. I am looking forward to hearing about where you find to settle down.
Eric
LikeLike
Hi Mike, just bought a compact ex Cruise America rental of 19 ft length and I need a similar surfboard rack for my toys. May I ask you where you bought the base 4 ft carrier rack that you show in the first picture? My neighbor is good in welding and may help me out in building something similar for our RV.
The end result of your surfboard carrier looks awesome! Safe travels!
LikeLike
Hi Geralt, the basket was one that they had in stock over at Warner Muffler in Oceanside where they did the welding
Cheers
Mike
LikeLike
Mike,
Great job! I’m looking to work with warner’s this month on something similar, could i ask you for your starting plans with any comments on what you would have changed? Thanks!
Gordon
LikeLike
Thanks for checking us out. Just sent a PM to your e-mail
Mike
LikeLike
Hi Mike,
I love this design. I am also hoping that you could charge the design plans with me? I have a welder friend 😃. Also, wondering how stable it is? Seems like that’s a lot of vertical weight on that hitch? Have you had any issues or changes to the design since you made it?
Thanks in advance!
Jeanne
LikeLike
Hi Jeanne
I made it from one of those cargo baskets and a truck side tool box. The guys at the muffler shop welded it from some pencil sketch I did. It was okay for stability at first but since I drive on rough roads in Mexico, I had the welder add on a little outrigger and a second hitch mount about 18” offset from the main receiver. That made it super stable. The only thing I’d make sure of is that the spacing is plenty wide for the boards you will tote. I think I made the width 3 1/2” between the bars and after added in the padding, one of the thicker boards was barely squeezing in there. I hope this helpful.
Cheers
Mike
LikeLike
Thanks Mike – super helpful! 👍😃
LikeLike